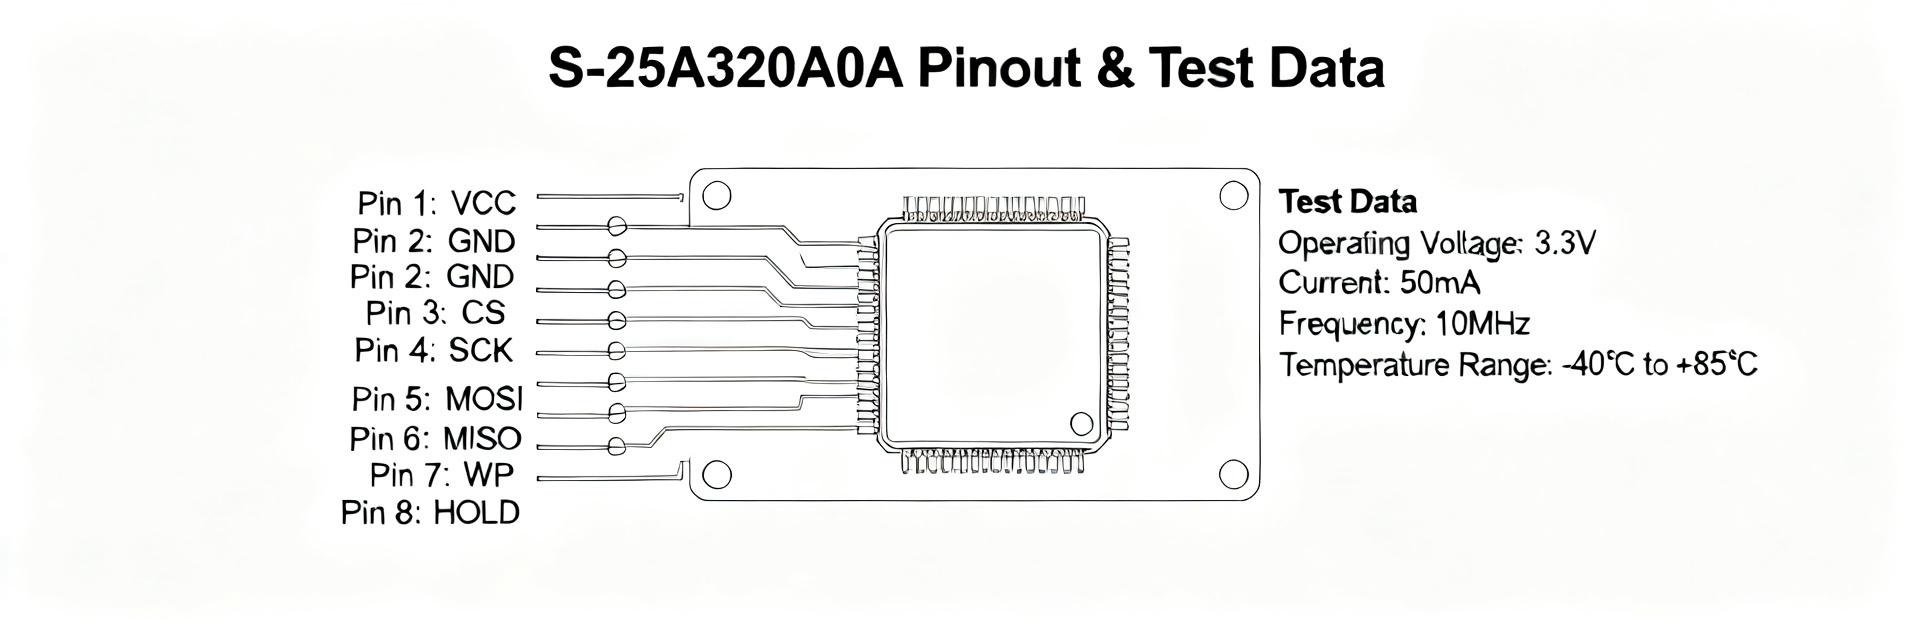
S-19190ANH-M6T1U Datasheet: Pinout & Key Specs (Latest)
Voltage-monitor ICs for multi-cell Li-ion systems now push detection accuracy into the low‑millivolt range; the S-19190ANH-M6T1U reports detection accuracy as tight as ±12 mV and cell detection steps down to 5 mV, so correct pinout interpretation and spec‑aware design are critical. This article is a quick, data‑driven reference to the S-19190ANH-M6T1U datasheet: clear pinout guidance, top‑line specs, and practical design and test notes engineers can act on immediately.
The intent is practical: extract the parameters you must verify on bench and PCB, document a pin‑by‑pin checklist, and supply layout and validation steps that reduce rework. Where the datasheet provides numerical examples they are highlighted; for any production release, confirm the final numbers against the official manufacturer datasheet before committing to a footprint or BOM.
Quick Overview & Top-Line Specs (background)

What the S-19190ANH-M6T1U does (purpose and feature summary)
Point: The device is a multi‑cell voltage monitor intended for battery management subsystems. Evidence: The IC monitors individual cell voltages in series packs and signals over/under conditions with fine detection granularity. Explanation: In practice it’s used as a supervisory monitor in 2S/3S battery stacks to drive indicators, auxiliary logic, or to feed a PMIC/BMS controller so that primary protection and balancing remain separate from simple threshold detection.
- Elevator pitch: Compact SOT‑23‑6 voltage monitor for multi‑cell Li‑ion stacks with millivolt‑scale thresholds.
- Key specs: detection-voltage range suitable for cell monitoring, detection step = 5 mV, typical detection accuracy ≈ ±12 mV.
Key electrical and mechanical specs at a glance
Point: Capture the essentials in a one‑column spec view for quick reference. Evidence: Pull supply range, detection thresholds, quiescent current and package from the official datasheet for exact numbers. Explanation: Use this compact view in datasheet reviews and design checklists so engineers don’t miss a test condition or footprint detail during layout and validation.
| Parameter | Typical / Notes |
|---|---|
| Supply voltage range | Refer to manufacturer datasheet for exact VIN range |
| Detection step | 5 mV |
| Detection accuracy | ±12 mV (typical reported) |
| Package | SOT-23-6 |
| Operating temp | Automotive grade range (check datasheet for limits) |
Datasheet Deep-Dive — Parameters to Watch (data analysis)
Thresholds, hysteresis and timing parameters (what to measure)
Point: Thresholds, hysteresis, and blanking/duration parameters determine both false positives and system responsiveness. Evidence: The device uses discrete detection steps (5 mV) and lists hysteresis and debounce windows in its timing diagrams. Explanation: When validating, measure both the detect and release voltages across temperature and load: small step sizes increase sensitivity to noise, so hysteresis and blanking are critical to avoid oscillation around thresholds. Record detect vs release and map against expected cell‑voltage noise and measurement ADC resolution.
Point: Timing specs influence system-level sequencing. Evidence: The datasheet timing diagram shows debounce intervals and any internal sampling cadence. Explanation: If the monitor toggles an open‑drain output, observe how long a transient must persist to register as a fault; this determines whether a high‑speed transient from switching events will cause nuisance flags. Reproduce the timing diagram with an oscilloscope and a controlled source for repeatable verification.
Electrical-characteristics highlights and test conditions
Point: Quiescent current, input leakage, and output drive define integration constraints. Evidence: The electrical table lists test conditions and measurement methods for each parameter. Explanation: Read each spec with its test condition (temperature, VIN, load). For example, quiescent current in μA range affects sleep budgets in low‑power systems; input leakage on sense pins impacts series sense resistor choices. Flag any nonlinearity or special notes (ESD, latch‑up warnings) that can affect assembly and test.
Pinout & Package — How to Read and Document It (method guide)
Pin-by-pin documentation checklist (what to include for each pin)
Point: A rigorous pin table prevents miswiring and footprint errors. Evidence: The package drawing in the datasheet provides pin numbers and top view orientation—use it as the single source of truth. Explanation: For each pin document: pin number, name, electrical function, absolute max/min voltages, recommended operating voltage range, typical source/sink capability, required decoupling or pull resistors, and any notes (NC, EP, thermal pad). Include recommended test points and labeling to ease ATE and bench validation.
Common pin-layout pitfalls and how to avoid them
Point: Mistakes around package view and NC pins create costly board spins. Evidence: Engineers commonly mix top/bottom views or ignore NC pad tolerances. Explanation: Verify the footprint against the datasheet package drawing and a 3D model, confirm pad-to-pin mapping with a mechanical print, and check copper keepouts for sense lines. For sense pins keep traces short, use Kelvin routing where feasible, and avoid routing noisy power traces adjacent to sense inputs.
Typical Applications & Example Circuit (case showcase)
Typical use-cases and system-level roles
Point: The monitor is suited to supervisory roles in battery stacks. Evidence: Typical applications include 2S/3S cell monitoring, BMS supervisory blocks, and balancing detection triggers. Explanation: Use the IC for auxiliary monitoring and as an early-warning device; it is not a full protection IC by itself unless used per manufacturer recommendations. Decide whether it will feed a higher‑level BMS, trigger cell balancing, or drive a safety interlock based on system risk requirements.
Annotated reference circuit and component callouts
Point: Reproduce or adapt the datasheet reference circuit and call out decoupling and pull values. Evidence: The datasheet reference schematic shows recommended cap placement and pull resistor guidance. Explanation: Place decoupling caps close to VIN, route sense resistors directly to the IC sense pins, and add labeled test points for each monitored node. Include a short BOM snippet with recommended capacitor types and resistor tolerances; explain that tighter resistor tolerances reduce measurement uncertainty and that cap ESR affects transient immunity.
Design, Test & PCB Layout Best Practices (action recommendation)
PCB layout, thermal and assembly tips for SOT-23-6
Point: Layout determines measurement integrity and thermal reliability. Evidence: The SOT‑23‑6 package and any exposed pad notes in the datasheet guide thermal relief and reflow settings. Explanation: Keep sense traces shortest, use a single‑point ground or star return for analog ground, place decoupling within 1–2 mm of VIN, and follow recommended solder‑mask openings and thermal via practices if an EP is present. Run DRC checks for courtyard and pad tolerance before sending to fab.
Test and validation checklist before production
Point: A concise test plan detects defects early. Evidence: Key tests derive directly from datasheet specs: threshold verification, quiescent current, and output behavior under load. Explanation: Checklist: 1) bench power and pin‑orientation sanity; 2) verify detect and release voltages with a calibrated source; 3) measure quiescent current across temperature; 4) inject over/under scenarios and record response times; 5) run a functional burn‑in. Use precision sources, an oscilloscope for timing captures, and a temp chamber for qualification.
Summary (conclusion)
Recap: The S-19190ANH-M6T1U is a fine‑resolution voltage monitor that brings 5 mV detection steps and ≈±12 mV accuracy to multi‑cell supervision; following the datasheet for pinout and timing details is essential to avoid false triggers and ensure reliable operation. Design choices around sense routing, decoupling, and debounce interpretation directly affect field performance. Confirm all numeric specs against the official manufacturer datasheet before production.
- Download the official datasheet PDF and lock the package drawing as the source of truth for pin numbering.
- Validate PCB footprint with a 3D model and perform threshold verification on bench using calibrated sources.
- Run quiescent‑current and temperature sweep tests, and capture timing behavior with an oscilloscope before finalizing BOM.
FAQ
How should the datasheet timing diagram be used during bench validation?
Use the timing diagram as the baseline for oscilloscope captures: reproduce the detect, debounce and release timing with a calibrated source and record the exact durations and levels. Compare measured timing to datasheet conditions, and adjust test harnesses so noise and latency do not mask true device behavior.
What are the critical PCB checks for sense inputs and ground routing?
Critical checks include shortest possible sense traces, a clear analog ground return (star or single‑point), proper separation from high-current loops, and verification of pad positions against the package drawing. Add test points close to sense pins for in‑field diagnosis.
Which test equipment is recommended to verify threshold accuracy and quiescent current?
Use a precision voltage source (millivolt resolution), a low‑noise oscilloscope for timing and transient captures, and a high‑accuracy picoammeter or multimeter for quiescent current. For thermal characterization, a temperature chamber is recommended to sweep operating range and confirm specs under real conditions.
How does the 5 mV detection step size impact layout and noise filtering?
The highly sensitive 5 mV detection step requires meticulous layout design to avoid false triggering. High-frequency transients from switching circuits must be attenuated using low-ESR decoupling capacitors placed within 1-2 mm of the VDD/VSS pins, alongside Kelvin-routed sense traces away from noisy power routes.